

How To Repair A Dripping Bathtub Faucet
If you have a tub and shower spout/faucet combination, in that location'due south a common trouble you might face: yous plough the water "on" and divert the valve (significant, you pull upwards on the handle or y'all pull downward on the spout). Your shower might turn on… but you still get water leaking out of your tub spout. Nodding along while reading this? The adept news is there'southward an easy prepare! Frequently, it just takes a couple of minutes and potentially no tools depending on your tub spout.
In this blog, we'll cover why your bathtub faucet may outset leaking, a 3-footstep fix to stop those pesky leaks and drips, and an alternative solution if you need a Plan B.
If you lot'd rather lookout than read check out this 6-minute video
DISCLAIMER: This blog contains chapter links, which ways that if you click on i of the product links, I'll receive a pocket-size commission.
Why does a bathtub faucet (or spout) leak when the shower is on?
Usually this issue comes from the actual diverter selection on your tub spout. Essentially, when you lot plow the water on from your mixing valve, the water is flowing through the path of least resistance. Meaning, it's going down the pipage and through your tub spout.
Then, when you pull up on the diverter rod (or downwardly at the spout) that blocks the path of the water and the path of least resistance goes up through the showerhead. All this to say, it's how yous divert the flow from the tub spout up through the showerhead.
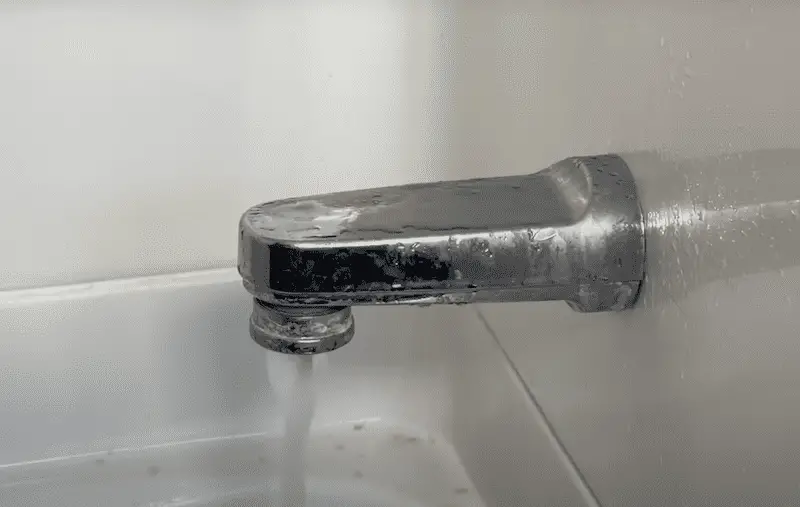
Nevertheless, if you take a bunch of mineral deposits that build upward over the years, the gate that shuts the water off at the tub spout can go blocked or partially blocked.
Although it may still period water through your shower head, it'south partially even so open. So yous still get that little bit of h2o coming through the tub spout.
3 Step Fix for a Leaking Bathtub Faucet
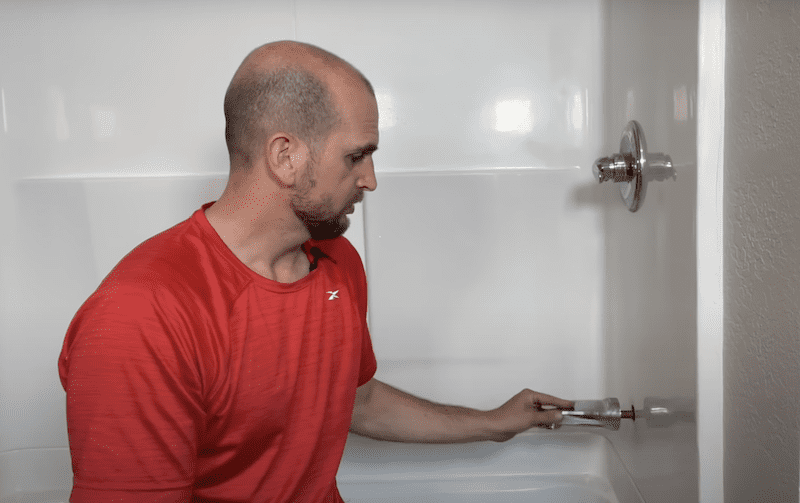
1. Remove the spout
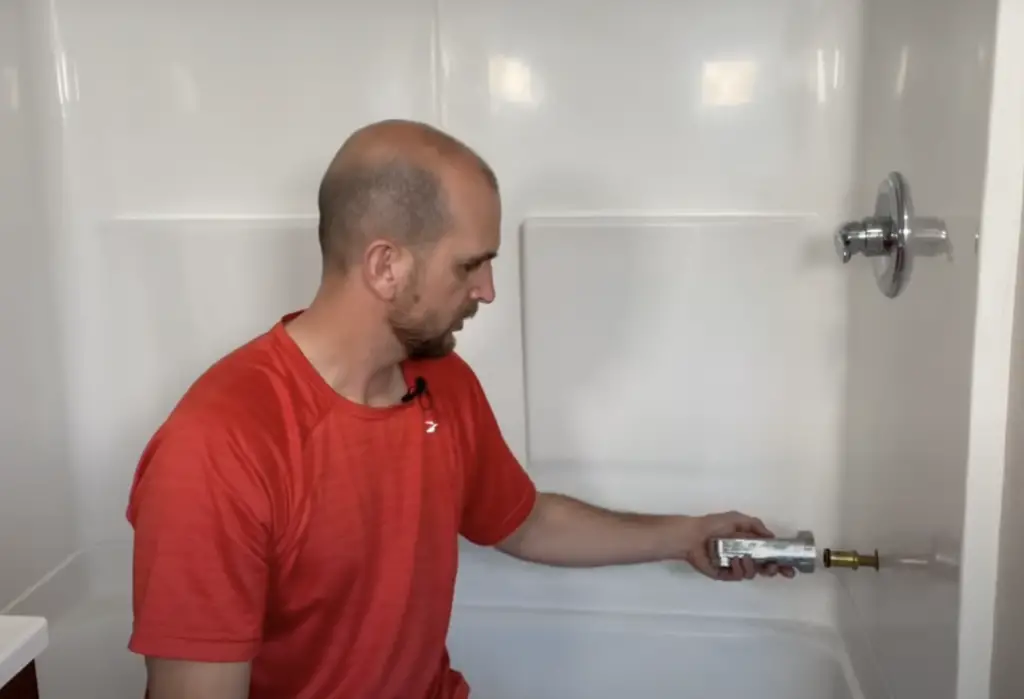
Removing the tub spout is very easy. There are a few different designs, but for the one I'm dealing with – you lot unscrew it in the counterclockwise direction for several turns. From hither, the tub spout comes off hands.
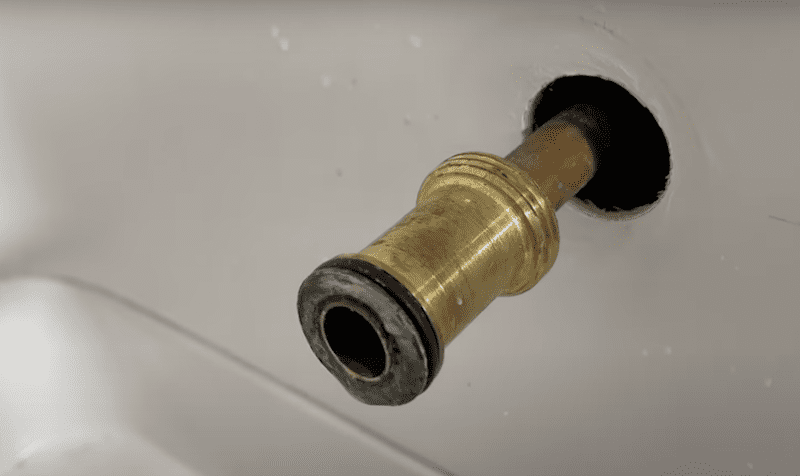
Note: this is a Delta type of valve and tub spout combo with an adapter. (You lot shouldn't see any teflon tape even though some people put it at the back threads. Merely it's not needed because the o-ring at the front does the sealing and ensures you don't have leaks at the dorsum of the tub spout.)
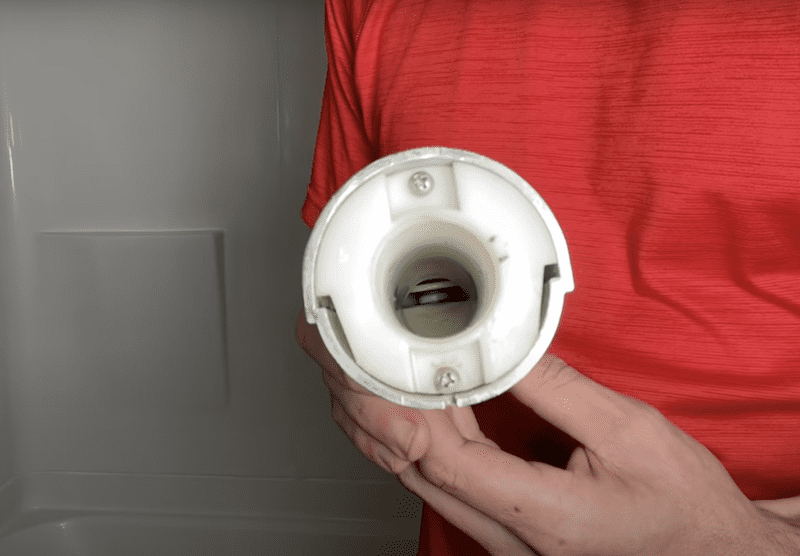
There'south a little plate that'southward popped up that would allow water come through the tub spout and down. But when you pull this downwardly you can see information technology closes off, which closes the water off going through the tub spout and pushes it up through the shower valve.
2. Clean mineral deposits
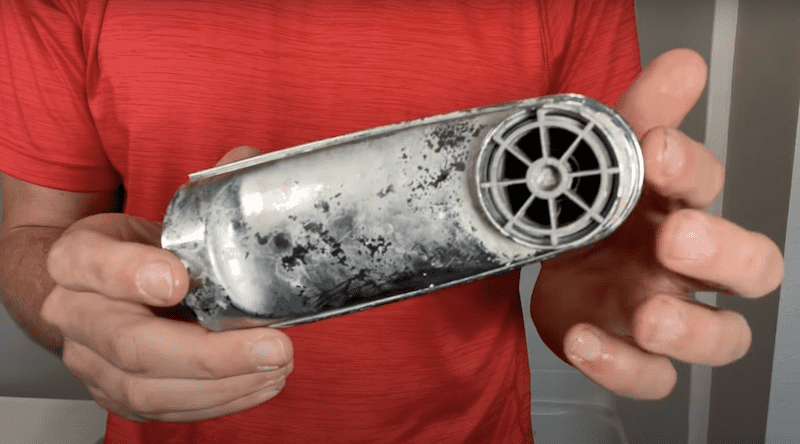
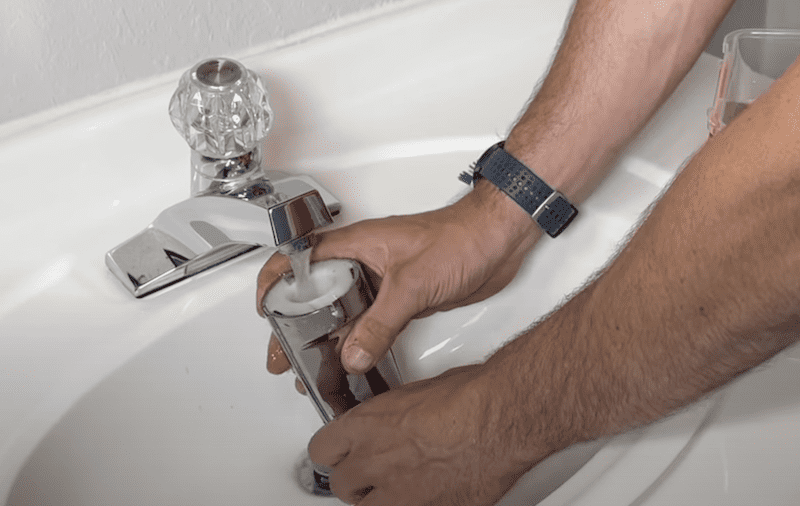
With this one, at that place are visible mineral deposits on the tub spout, which are allowing information technology to stay partially open. So to get that off you need a container that will be able to fully submerge or close to fully submerge your spout.
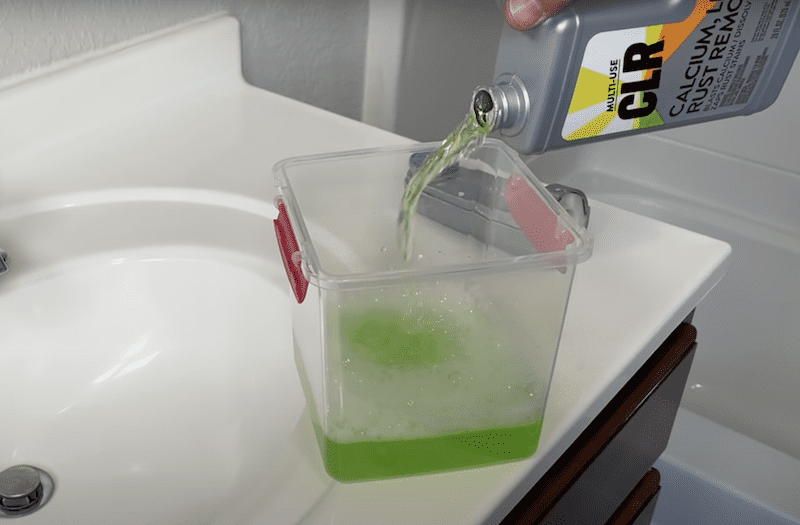
And so, utilize a container of CLR. Mix one office CLR to the aforementioned volume of water. If yous have white vinegar effectually the house that might also work besides to break up the mineral deposits.
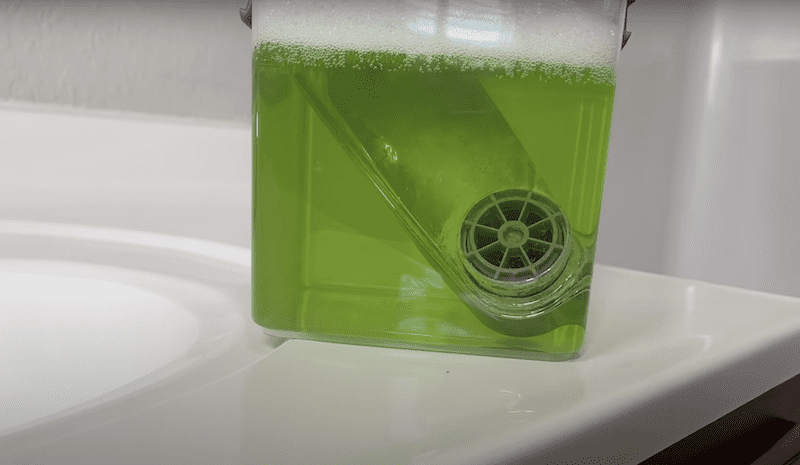
From hither, permit the tub spout sit in the solution for xv minutes. It should start to loosen upwardly and break free all the mineral deposits. I'd recommend using gloves and an quondam toothbrush to assist interruption up the deposits and get any excess deposits out.
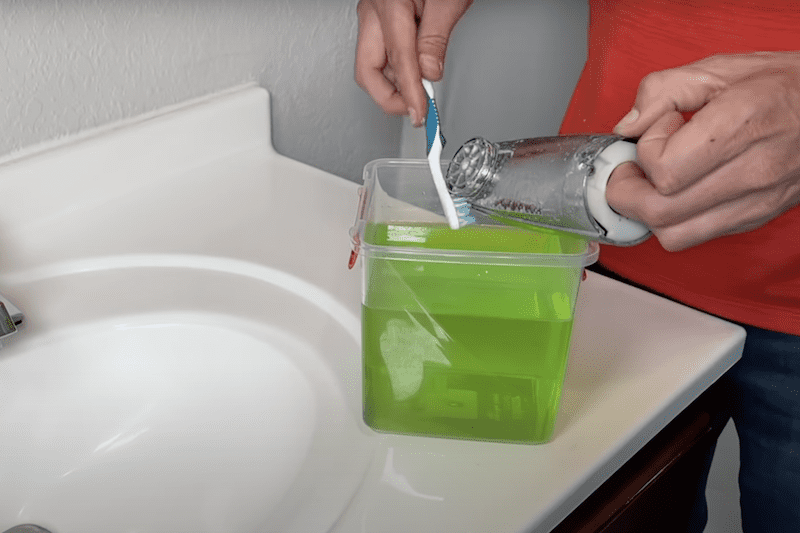
Flush out the tub spout with water and open up and close the diverter valve, breaking free the center deposits inside. That is really all at that place is to it!
3. Re-install and examination the bathtub / shower faucet
In this last step, y'all'll want to reinstall the spout and and so exam it to brand certain it's working. Rotate it clockwise until it's snug with your surroundings. And examination it out to see if there's an improvement.
Recollect for this type of tub spout and adapter, the o-ring is already on so at that place's no need to use whatever Teflon tape. On the other manus, if you have the threads at the start/end of your tub spout (known equally pipe threads), you do need to install new Teflon tape to make certain yous don't have any leaks
The Wrap Upwardly
These steps helped me with my leaky bathtub faucet vastly. At that place are still a few drops leaking out here and at that place, but it is night and day from what it was earlier. Freeing upwards those mineral deposits in the diverter itself immune the water to get up through the showerhead itself.
Did this not piece of work for you?
If this doesn't piece of work, have that spout down to your dwelling improvement shop and you'll likely be able to become a directly replacement. And then don't spend too much fourth dimension using CLR or vinegar because if you're having trouble – a replacement may exercise the trick and it's more often than not nearly $x-$15.
Permit me know in the comments if yous have any questions or if y'all're seeing issues that you desire some assistance with.
See more bathtub repair projects like how to opposite hot & cold h2o in a shower and how to gear up a bathroom sink drain stopper.
Source: https://everydayhomerepairs.com/fix-a-bathtub-faucet-from-leaking/
0 Response to "How To Repair A Dripping Bathtub Faucet"
Post a Comment